How to Install Fluorescent Light Step by Step Guide
Master how to install fluorescent light step by step guide with easy instructions. Safety tips, tools needed, and troubleshooting included!
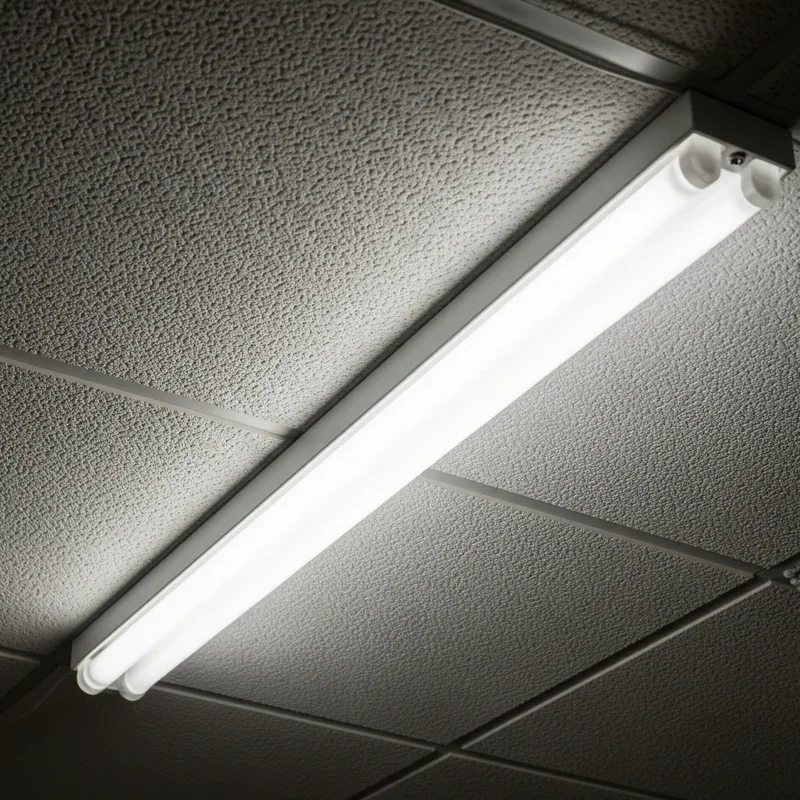
Well, well, well! So you've decided to tackle that dim corner of your garage, basement, or workspace that's been crying out for better lighting. Good on you! Installing a fluorescent light fixture might seem like rocket science at first glance, but trust me, it's easier than assembling that Swedish furniture you bought last summer. With the right tools, a dash of patience, and this comprehensive guide in your back pocket, you'll be basking in that bright, energy-efficient glow before you know it. Now, why fluorescent lights, you ask? These bad boys are the workhorses of the lighting world. They're energy-efficient, last longer than traditional incandescent bulbs, and provide that even, widespread illumination that's perfect for workspaces, kitchens, and utility areas. Sure, LED's getting all the buzz these days, but fluorescents still hold their own when it comes to bang for your buck. Before we roll up our sleeves and dive into the nitty-gritty of installation, let's get one thing straight: electrical work isn't child's play. If you're not comfortable working with electricity or if your local codes require a licensed electrician for this type of work, there's no shame in calling in the pros. Safety first, folks! But if you're ready to take on this DIY challenge, buckle up because we're about to illuminate your world, literally!
Getting Your Ducks in a Row: Pre-Installation Prep
Understanding What You're Getting Into
Before jumping headfirst into this project, taking stock of what you're dealing with is crucial. Are you replacing an old fixture or installing a brand-new one where none existed before? Replacing an existing fixture is typically straightforward, but running new wiring? That's a whole different ballgame that might require pulling permits and definitely needs more expertise.
Check out your ceiling situation too. Is it drywall, plaster, or maybe a drop ceiling? Each type requires slightly different approaches and hardware. Measuring the space where you want to install the fixture is essential. You don't want to get halfway through the installation only to realize your shiny new fixture is too big for the space. Been there, done that, got the t-shirt!
Tools and Materials Checklist
Alright, let's talk tools! Having everything ready before you start will save you from those annoying trips to the hardware store mid-project. Here's what you'll need:
• Non-contact voltage tester (this little gadget could save your life) • Wire strippers and wire nuts • Screwdrivers (both flathead and Phillips) • Drill with bits • Measuring tape and pencil • Safety glasses and work gloves • Ladder or step stool • The fluorescent fixture itself • Mounting hardware (usually comes with the fixture) • Wire connectors • Electrical tape
Safety First, Second, and Third!
I can't stress this enough: turn off the power at the circuit breaker! Not just the light switch, mind you, but the actual breaker. Flipping that light switch off isn't enough because some homes have wonky wiring where the switch only controls one wire. Once you've turned off the breaker, use that voltage tester to double-check there's no juice flowing through those wires. Getting zapped is no joke, and explaining to your spouse why you're sporting a new hairdo courtesy of electricity isn't fun either.
The Main Event: How to Install Fluorescent Light Step by Step Guide
Step 1: Out with the Old
If you're replacing an existing fixture, removing it is your first order of business. After confirming the power's off (did you test it with your voltage tester?), carefully unscrew the old fixture from the ceiling. Most fixtures have a canopy or base plate that hides the electrical connections. Once you've got access to the wiring, take a quick photo with your phone. This little trick will help you remember which wires went where, just in case things get confusing later.
Disconnect the wires by unscrewing the wire nuts and separating the connections. You'll typically see three wires: black (hot), white (neutral), and green or bare copper (ground). Sometimes there's a red wire too, especially if the fixture was connected to a dimmer switch or had multiple switching options.
Step 2: Mounting the New Fixture Base
Here's where the rubber meets the road! Your new fluorescent fixture will come with a mounting bracket or base plate that needs to be secured to the ceiling. Hold that bracket up to the ceiling and mark the screw holes with your pencil. If you're lucky, the holes will line up with a ceiling joist. If not, you'll need to use drywall anchors for a secure mount.
Drilling pilot holes before driving in the screws will make your life easier and prevent the drywall from cracking. Make sure that bracket is level because nobody wants a wonky light fixture. It'll bug you every time you look at it, trust me!
Step 3: Making the Electrical Connections
Now comes the part that makes some folks nervous: connecting the wires. But honestly, it's like following a recipe. Match the colors! Connect the black wire from the ceiling to the black wire from the fixture. Same goes for white to white. The ground wire (green or bare copper) connects to the ground screw on the fixture or to the fixture's ground wire.
Twist those wire connections nice and tight before screwing on the wire nuts. Give each connection a gentle tug to make sure it's secure. Nobody wants wires coming loose down the road. Wrap each wire nut with electrical tape for extra security. It might seem like overkill, but better safe than sorry!
Step 4: Securing the Fixture
With the wiring sorted, it's time to attach the fixture to the mounted bracket. Different fixtures have different attachment methods. Some slide into place and lock with a twist, others require screws, and some have spring clips. Following the manufacturer's instructions here is key because forcing something that doesn't want to go is a recipe for broken parts and frustration.
Once the fixture body is secure, you might need to attach the ballast cover or diffuser panel, depending on your model. These usually snap or slide into place pretty easily.
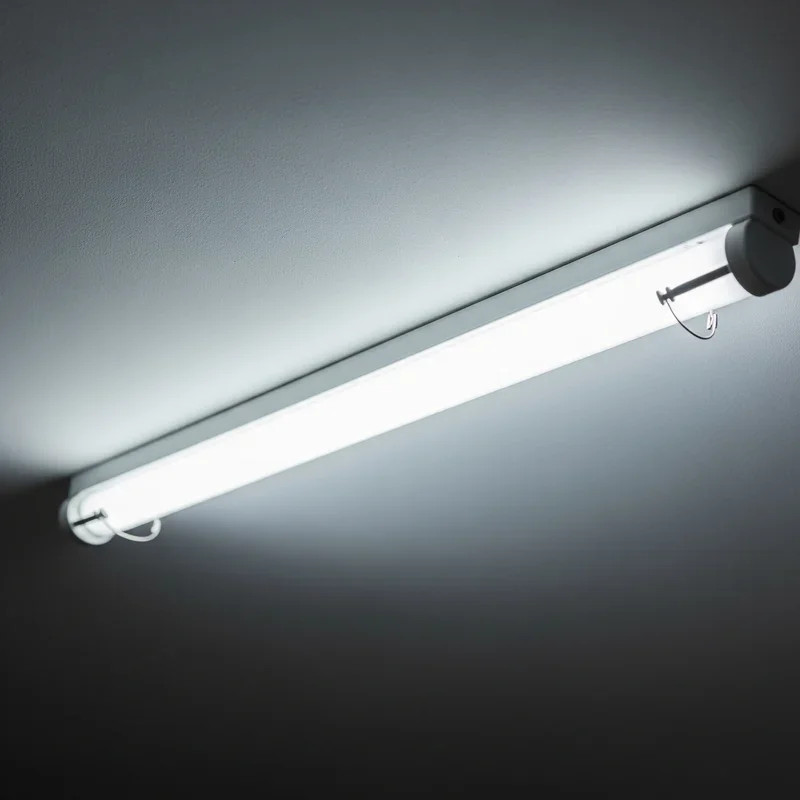
Step 5: Installing the Bulbs
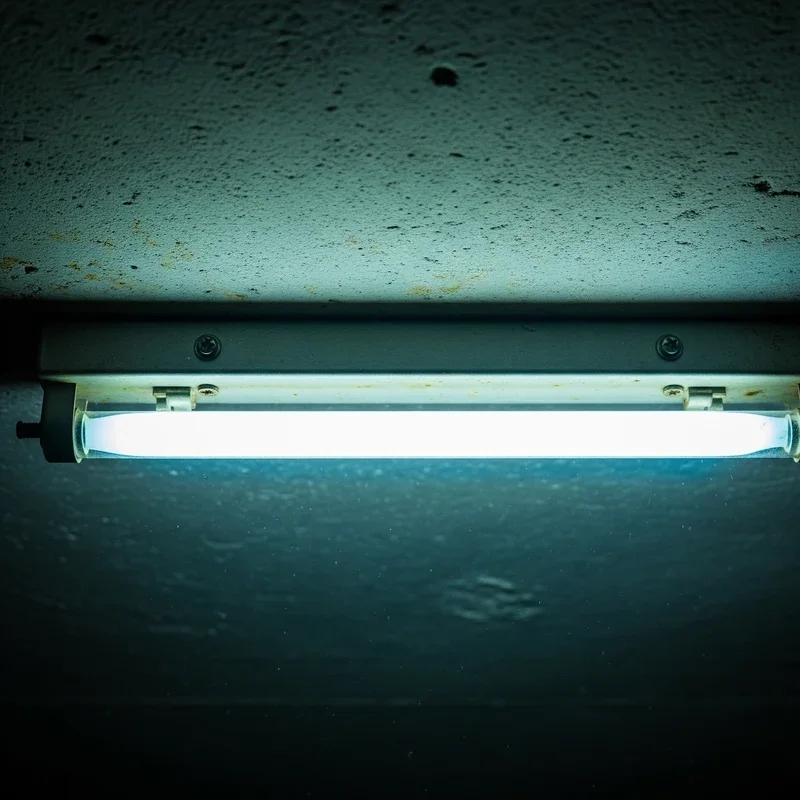
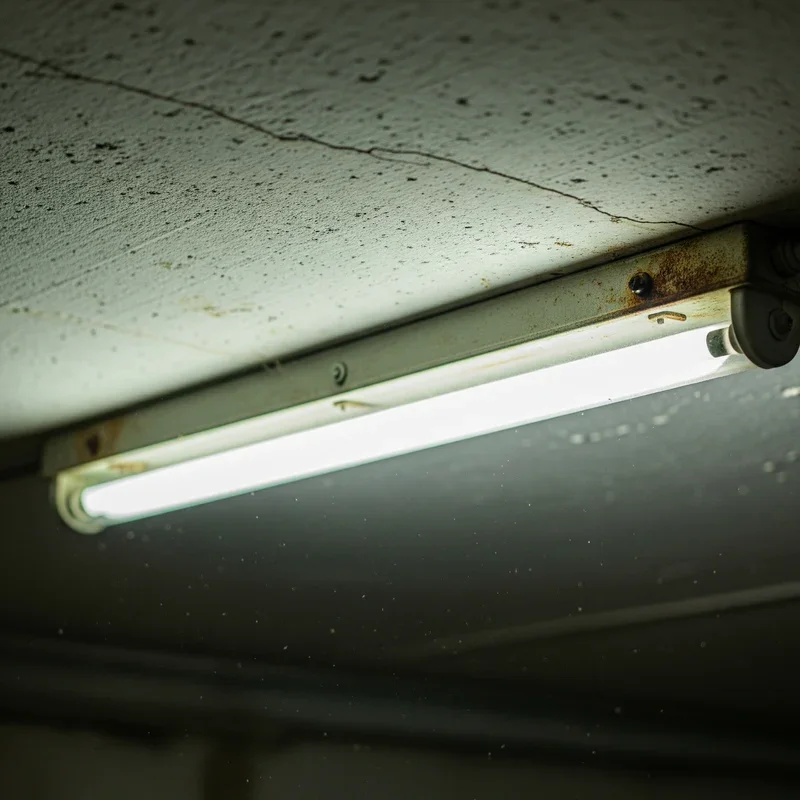
Fluorescent tubes need to be handled with care. They're made of glass and contain small amounts of mercury, so breaking one isn't just messy; it's potentially hazardous. Hold the tube at both ends and align the pins with the sockets (called tombstones in the trade, though I've never figured out why).
For standard bi-pin tubes, insert the pins into the sockets and rotate the tube about a quarter turn until it locks in place. You'll feel it seat properly when it's right. Some fixtures use single-pin tubes that simply push into spring-loaded sockets. Either way, when properly installed, the tube should sit firmly without any wobbling.
Testing and Troubleshooting Your Installation
The Moment of Truth
Alright, drumroll please! It's time to flip that breaker back on and see if your handiwork pays off. Head back to the circuit breaker, turn it on, then flip the light switch. If everything's gone according to plan, you should be bathed in beautiful fluorescent light. Give yourself a pat on the back!
But what if nothing happens? Don't panic! First, check the obvious stuff. Is the switch actually on? Is the breaker really on? Are the bulbs properly seated? Sometimes it's the simple things that trip us up.
Common Issues and Fixes
If your new fluorescent light is flickering, humming, or taking forever to turn on, you're not alone. These are common issues with fairly simple fixes:
• Flickering lights: Usually means a loose bulb or a failing ballast • Humming sound: Often caused by an old magnetic ballast or loose components • Slow to start: Could be cold temperatures or an aging ballast • Only one tube lights: Check the non-working tube's connections first • Intermittent operation: Might indicate loose wire connections
Advanced Tips for How to Install Fluorescent Light Step by Step Guide
Upgrading to Electronic Ballasts
If you're installing an older fixture or dealing with an existing one, consider upgrading to an electronic ballast. These modern marvels are quieter, more efficient, and help your tubes last longer. They're a bit pricier upfront but pay for themselves in energy savings and reduced maintenance hassles.
Adding a Dimmer Switch
Contrary to popular belief, you can dim fluorescent lights, but you need special dimmable ballasts and compatible dimmer switches. It's not as straightforward as dimming incandescent bulbs, but it's doable if you want that flexibility. Just make sure all your components are designed to work together.
Retrofit LED Options
Here's a thought: while you're going through all this trouble, why not consider retrofit LED tubes? They fit in standard fluorescent fixtures but use less energy and last even longer. Some require rewiring to bypass the ballast, while others work with existing ballasts. It's worth looking into if you want the best of both worlds.
Maintenance and Long-Term Care
Keeping Things Running Smoothly
Your new fluorescent light won't need much attention, but a little TLC goes a long way. Cleaning the tubes and fixture every few months keeps the light output at its best. Dust and grime can really dim things down over time. Use a dry cloth or slightly damp one if things are really gunky, but make sure everything's completely dry before turning the power back on.
When to Replace Components
Fluorescent tubes typically last 7,000 to 15,000 hours, depending on the quality and how often you turn them on and off. When they start flickering, showing dark spots at the ends, or taking longer to start, it's time for new ones. Ballasts last much longer, usually 10-15 years, but when they go, you'll know it. Humming, overheating, or complete failure are the telltale signs.
Special Considerations for Different Spaces
Garage and Workshop Installations
Garages and workshops often have special challenges. Temperature extremes can affect fluorescent performance, so consider cold-weather ballasts if you live in a chilly climate. Also, these spaces tend to be dustier, so enclosed fixtures that protect the tubes might be worth the extra investment.
Kitchen and Bathroom Applications
Moisture is the enemy of electrical fixtures, so bathrooms need special attention. Make sure your fixture is rated for damp locations if it's going in a bathroom. Kitchens benefit from fixtures with good color rendering to make food look appetizing. Nobody wants their fresh vegetables looking gray under harsh lighting!
Basement and Utility Areas
Basements often have lower ceilings, so surface-mounted fixtures work great here. If you've got exposed joists, you can mount fixtures directly to them, making installation even easier. Just watch your head when walking around!
Cost Considerations and Energy Savings
The Bottom Line
Installing fluorescent lighting yourself can save you a bundle compared to hiring an electrician. The fixture itself might run you anywhere from $20 to $100, depending on size and quality. Add another $10-20 for bulbs and miscellaneous supplies, and you're looking at a pretty affordable upgrade. Compare that to the $150-300 an electrician might charge for installation, and the DIY route looks pretty attractive!
Energy Efficiency Payoff
Fluorescent lights use about 75% less energy than incandescent bulbs for the same amount of light output. Over the life of the fixture, that adds up to serious savings on your electric bill. Plus, with tubes lasting much longer than traditional bulbs, you'll spend less time on a ladder doing replacements.
Conclusion
There you have it, folks! This how to install fluorescent light step by step guide has walked you through everything from preparation to testing. While it might seem daunting at first, installing a fluorescent fixture is definitely within reach for most DIY enthusiasts. Just remember to prioritize safety, take your time, and don't hesitate to call in professional help if you encounter something beyond your comfort zone. With your new fluorescent light up and running, you'll wonder why you waited so long to brighten up that space!
Read next: How Much Does Recessed Lighting Installation Cost?
Frequently Asked Questions
Q1: Can I install a fluorescent light on a dimmer switch?
A: Only with special dimmable ballasts and compatible dimmer switches designed for fluorescents.
Q2: How long do fluorescent tubes typically last?
A: Usually between 7,000 to 15,000 hours depending on quality and usage patterns.
Q3: Is it safe to throw away old fluorescent tubes in regular trash?
A: No, they contain mercury and should be recycled at designated facilities properly.
Q4: Why is my new fluorescent light humming?
A: Likely the magnetic ballast; upgrading to electronic ballast eliminates this issue completely.
Q5: Can I replace fluorescent tubes with LED tubes?
A: Yes, many LED tubes work in fluorescent fixtures with minor modifications needed.
Stay up to date with our latest ideas!